# 配置管理实验
# 一、实验拓扑
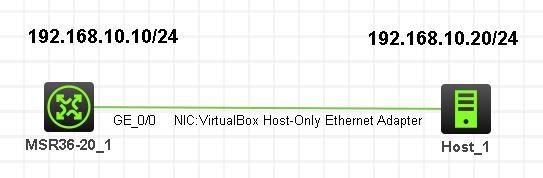
注:如无特别说明,描述中的R1或SW1对应拓扑中设备名称末尾数字为1的设备,R2或SW2对应拓扑中设备名称末尾数字为2的设备,以此类推
# 二、实验需求
- 按照图示连接到真机,并配置IP地址(真机IP地址配置到VirtualBox Host-Only Ethernet Adapter网卡)
- R1保存当前配置
- 在R1上开启FTP服务
- 使用真机访问FTP服务,把R1的配置文件拷贝到本地
- 在R1上清空配置,重启R1,确认已配置为空配状态
- 再次在R1开启FTP服务,并把真机拷贝的配置文件还原到路由器
- 更改R1的启动配置文件名
- 再次重启R1,确认配置已还原
# 三、实验解法
1.配置IP地址略
2.R1保存当前配置,并确认,命令如下
步骤一:R1已修改设备名,已开启telnet
[R1]dis th
#
 sysname R1
#
 telnet server enable
#
步骤二:保存当前配置
[R1]save
The current configuration will be written to the device. Are you sure? [Y/N]:y
Please input the file name(*.cfg)[flash:/startup.cfg]
(To leave the existing filename unchanged, press the enter key):
Validating file. Please wait...
Configuration is saved to device successfully.
[R1]
3.R1上开启FTP服务,创建用户 zx 密码 123456
[R1]ftp server enable
[R1]local-user zx class manage
[R1-luser-manage-zx]password simple 123456
[R1-luser-manage-zx]service-type ftp
4.使用真机访问FTP服务,备份R1的配置文件
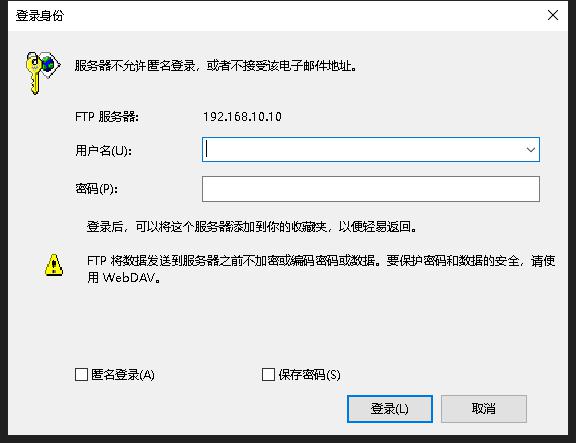
步骤一:使用资源管理器访问FTP服务

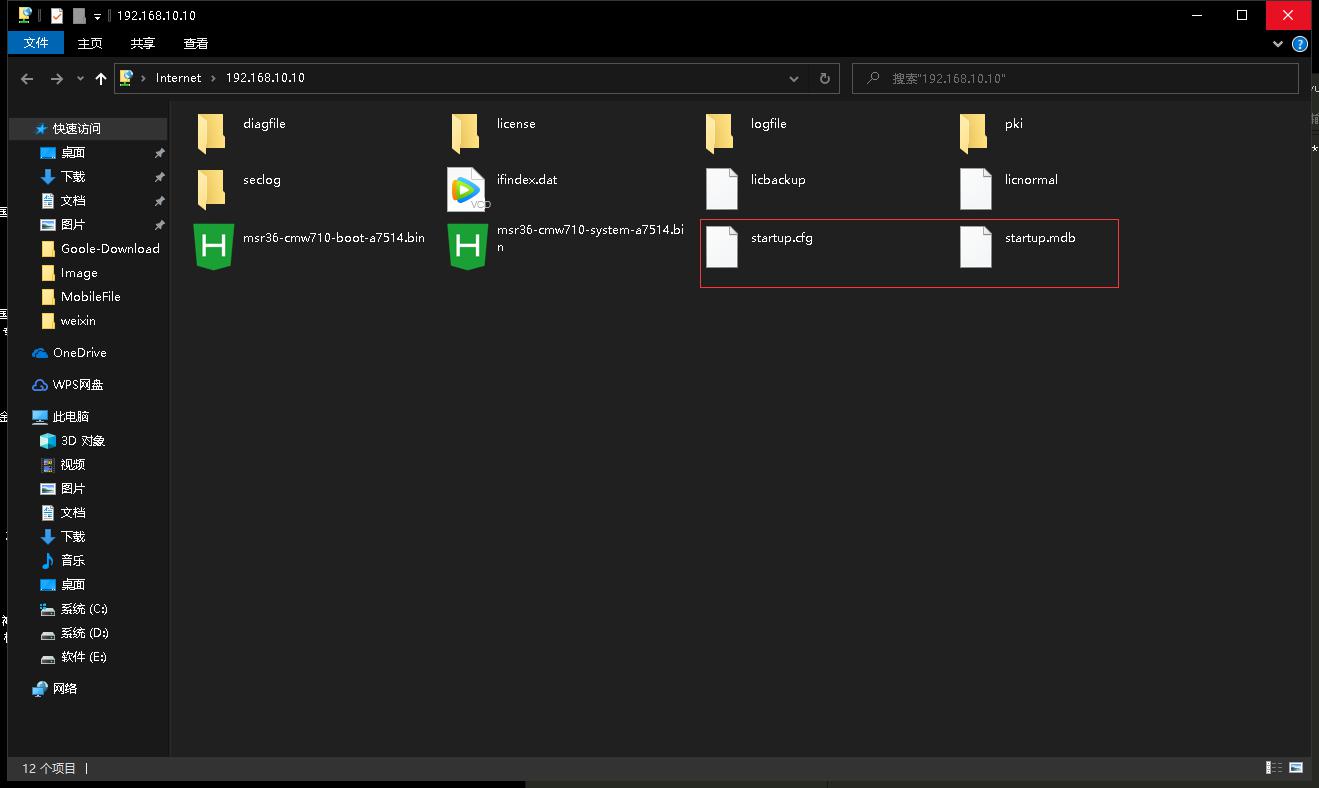
步骤二:复制R1的主配置文件至真机,如图
5.在R1上清空配置,命令如下 注意:此时R1的配置已经备份到PC中,可直接清空R1配置,清空后在还原备份配置测试是否还原成功
<R1>reset saved-configuration
The saved configuration file will be erased. Are you sure? [Y/N]:y
Configuration file in flash: is being cleared.
Please wait ...
Configuration file is cleared.
<R1>
6.重启R1,命令如下
注意:重启设备时,第一次确认提示是设备检测到配置被清空,询问是否要重新保存当前配置。此次询问需要输入 n 来否定;第二次确认提示才是询问是否确认要重启,应该输入 y
<R1>reboot
Start to check configuration with next startup configuration file, please wait.........DONE!
Current configuration may be lost after the reboot, save current configuration? [Y/N]:n
This command will reboot the device. Continue? [Y/N]:y
Now rebooting, please wait...
7.查看R1配置,发现R1的配置已经变成空配置状态
<H3C>dis current-configuration
#
 version 7.1.075, Alpha 7571
#
 sysname H3C
#
8.再次把R1的g0/0口配置IP地址,并开启FTP,命令略
9.把真机上的配置文件还原到路由器,过程略 注意:还原直接从PC端资源管理器登录FTP把备份配置拷贝进去即可,R1上无须进行save操作否则会再次进行替换配置文件
10.更改R1的启动配置文件,命令如下
<H3C>startup saved-configuration startup.cfg
11.重启R1,确认配置已经还原到清空前的状态 注意:重启时询问是否保存当前配置时输入n然后在重启,重启后查看配置已还原
<R1>dis current-configuration
#
 version 7.1.075, Alpha 7571
#
 sysname R1
#